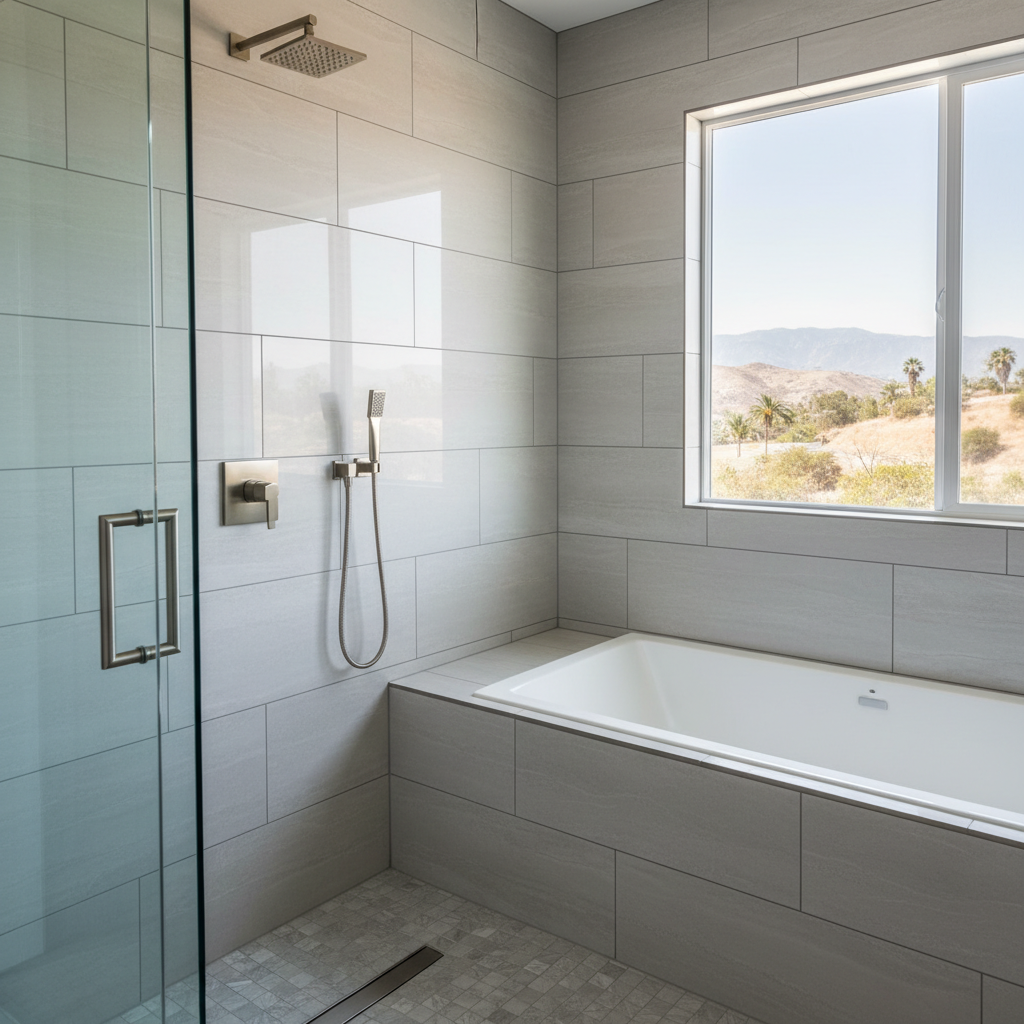
Ready to rip out that outdated builder-grade enclosure? Replacing a bathtub or shower changes the entire feel of a bathroom, but it is easy to bite off more than you can chew. Many homes around here in Stevenson Ranch were built back in the nineties and early two-thousands, meaning original plumbing fixtures are hitting the end of their lifespan and often hiding surprises behind the tile.
Before You Start: Preparation and Planning
You can save a lot of sweat equity by doing the upfront legwork yourself. Demolition is dirty, loud, and entirely doable over a weekend if you have a sledgehammer, safety glasses, and a strong disposal plan. Tearing out old acrylic inserts, drywall, and failing greenboard lets you inspect what is really going on in the wall cavities.
Check for moisture damage around the valve and subfloor. Homes tucked into the hills here experience temperature shifts, and minor leaks can linger behind fiberglass surrounds without you noticing until you pull everything apart.
During the Project: DIY vs. Calling a Pro
Once the studs are bare, you have to draw the line between handy homeowner tasks and professional plumbing work. Here is what you should leave to someone with a license:
- Moving supply lines, relocating the shower drain, and updating old pipes
- Solder joints, pressure testing behind the valve, and connecting supply lines
- Waterproofing critical wall junctions, installing backing boards, and preventing long-term rot
If you are simply dropping a pre-formed acrylic or cast-iron tub into an identical footprint without changing the drain location, you can probably handle the placement and leveling yourself. Just make sure the mortar bed underneath is solid so the tub does not flex or creak when you step into it.
When it comes to custom tile work, glass doors, and complex pressure-balancing valves, All Things Bathroom & Kitchen knows that precision matters. A crooked tile layout or a minor leak at the mixing valve will cost you ten times more to fix down the road than paying for proper installation the first time.
After Installation: Finishing and Curing
The heavy lifting is done, but patience is important during the final phase. Applying 100 percent silicone sealant around the tub deck and vertical corners keeps water where it belongs. Let everything cure fully before turning on the water or running steamy showers. A clean, properly installed wet area protects your home in Stevenson Ranch and keeps your daily routine running without unexpected headaches.